What tools do you need to apply micro loop hair extensions?
More and more women are now buying micro loop hair extensions. There are a number of benefits to Micro Loops which has greatly increased their popularity in recent years. Firstly, they are very easy to apply and remove, and they also provide a safer option for your scalp as they don’t rely on tape or glue. The small size of the micro loops allow you to attach the extension in areas which could not previously be reached and they last for a number of months before they need adjusting, which makes them a popular long-term solution. Although you can easily to apply and remove micro loops with a set of pliers, you still need to take care when applying them yourself. If you apply a micro loop that is not clamped tightly then the hair extensions may fall out.
Below we’ve written a guide on how to attach your own micro loop hair extensions.
How to Apply Micro Loop Hair Extensions
1. Make sure you have clean, dry, and straightened hair.
2. Take a section of a few strands of hair. This should be half the volume to the same size volume of the hair extension. Clip the remaining hair out of the way.
3. Place the hair extension loop on the end of the micro ring pliers.
4. Feed the strand of natural hair through the clear loop.
5. Pull the tab at the end of the loop so that the hair completely comes through the micro bead towards the scalp.
6. Make sure you leave a small gap of around 1cm from the scalp so it’s not too close to your skin.
7. Use the pliers to flatten the micro ring and ensure it is closed. Be careful not to press too hard as this can damage the hair.
8. Repeat the process across your head, one row at a time.
When purchasing a micro loop hair extension, you’ll want them with the plastic pulling wire are already attached to the hair like in the image below.
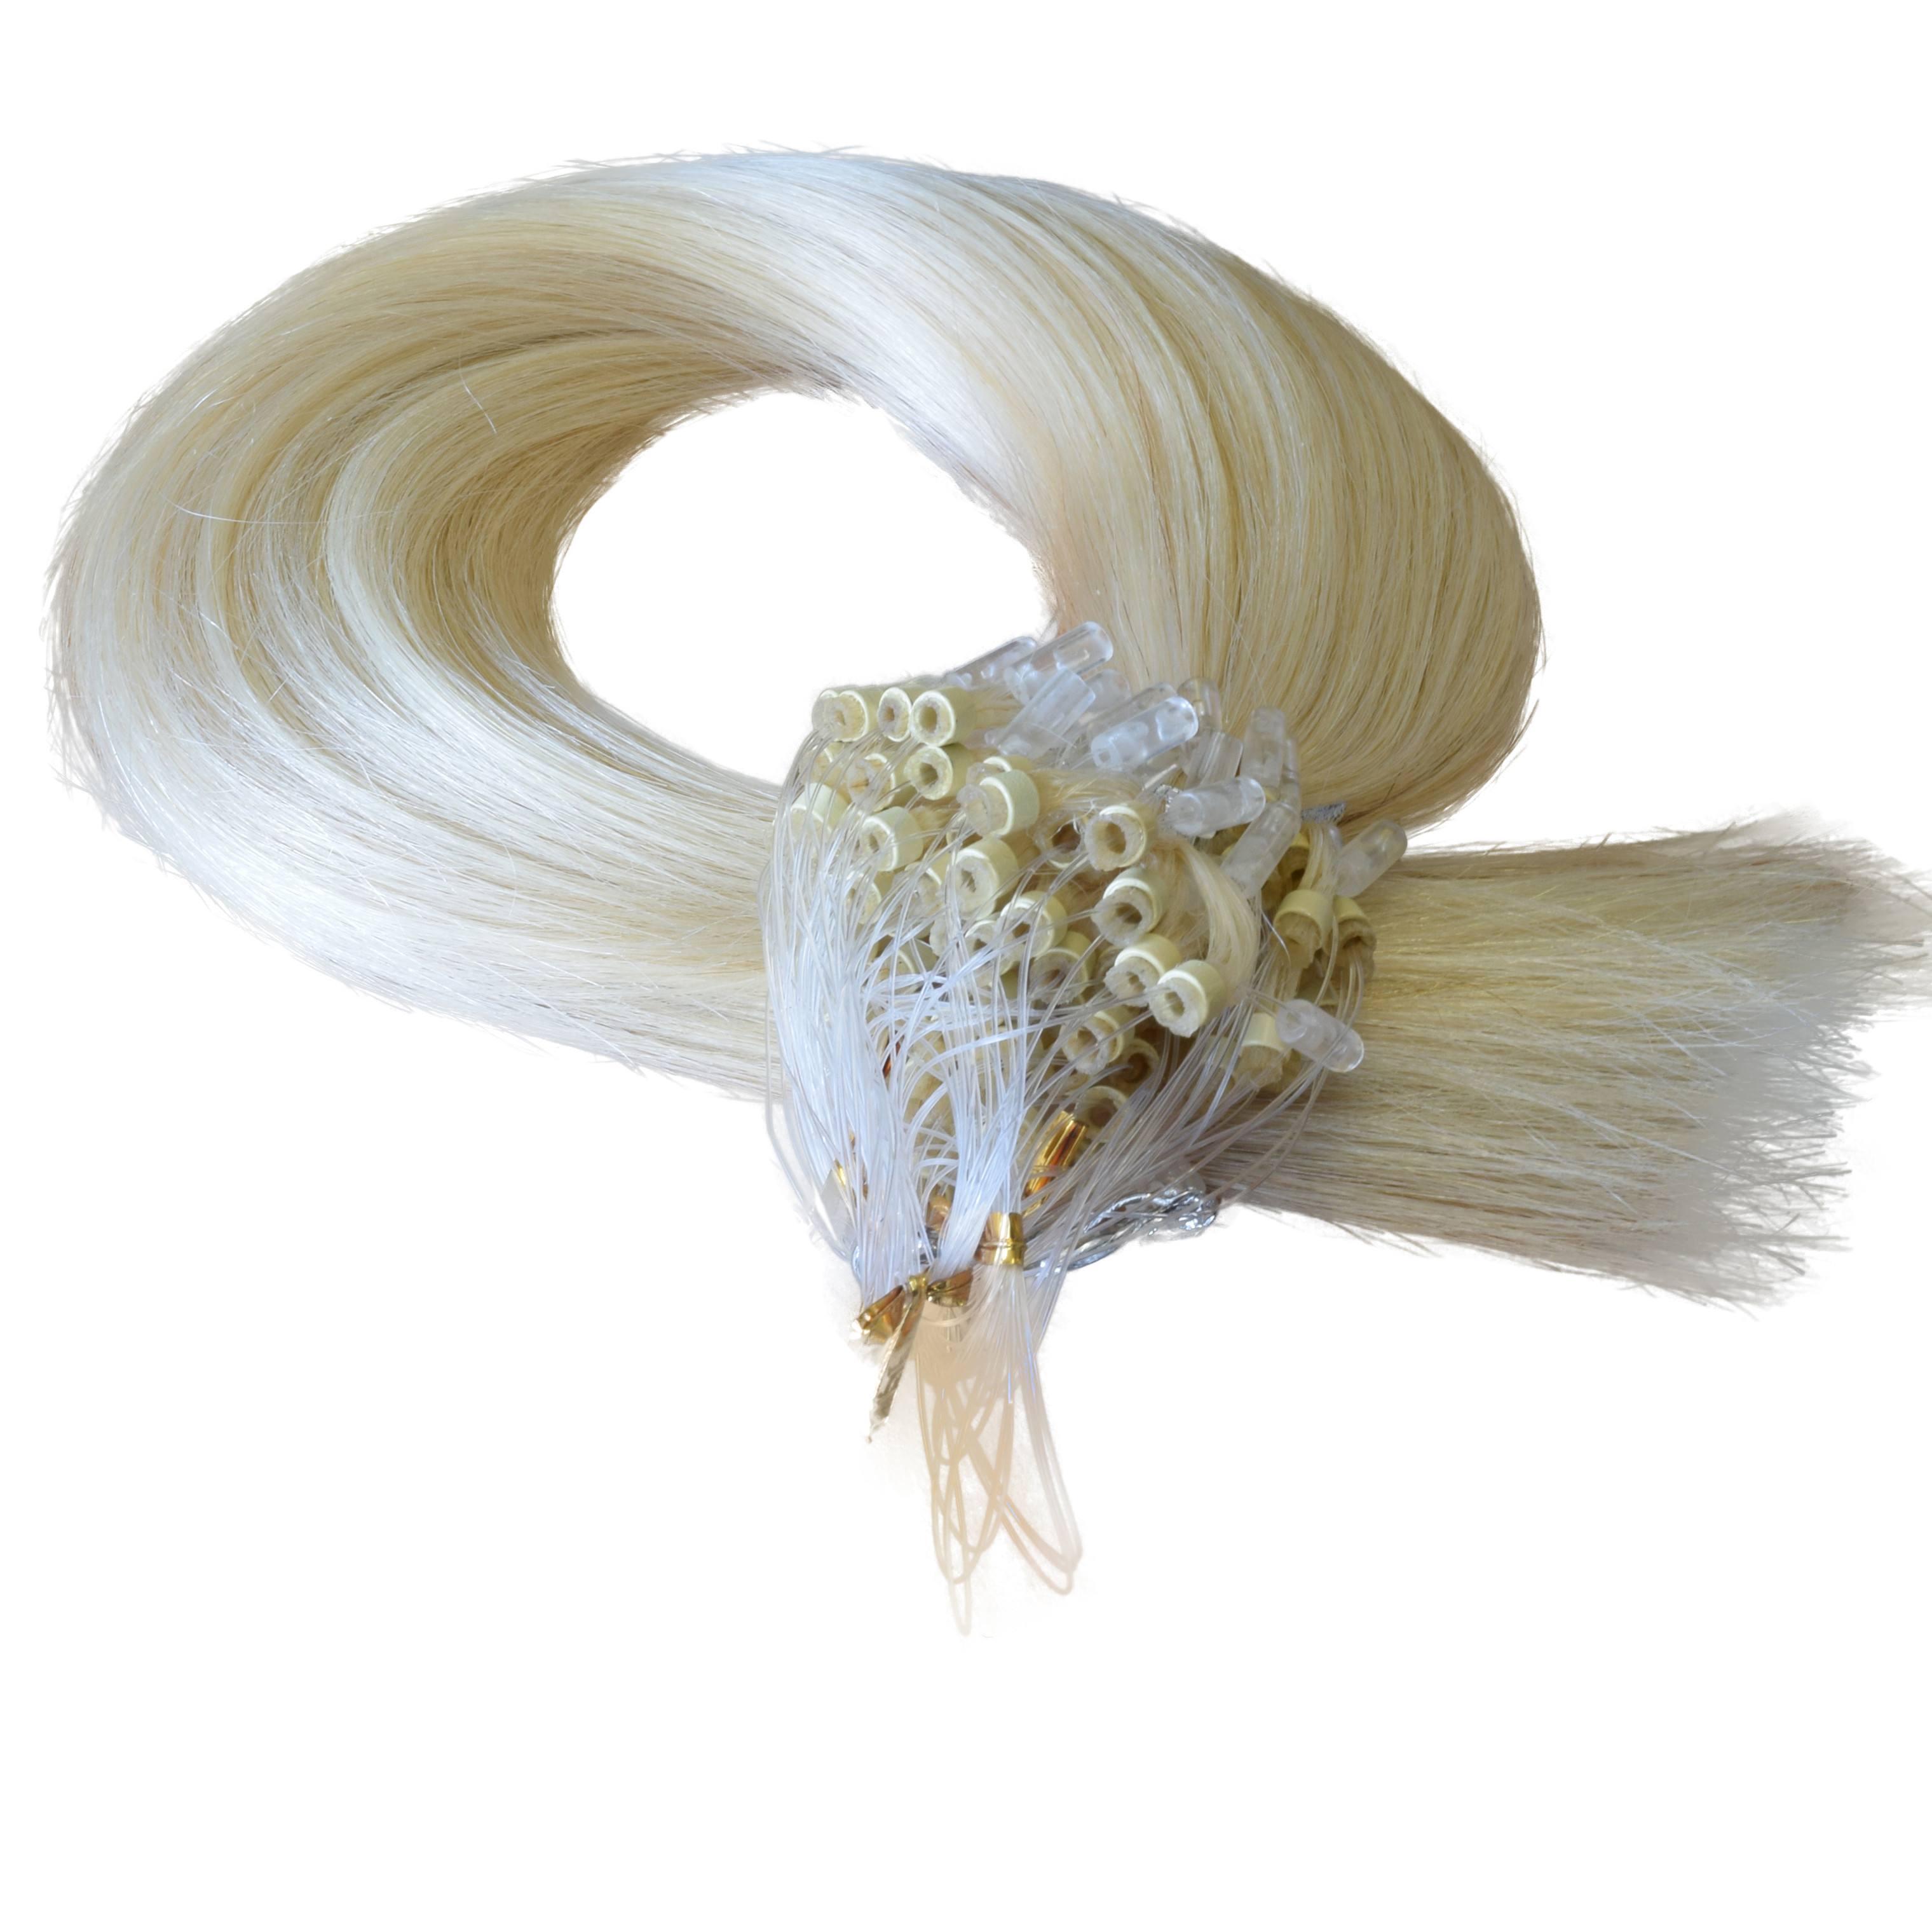
All our Micro Loop Hair Extensions are made of 100% human hair, so they can be styled and curled just like natural hair.